It’s a common question:
What is ISO on a camera?
And why do photographers use it in the first place? What most beginner photographers don’t know is that there are various other units of measurement available, and they can be used to make us understand certain things better.
Let’s dive in.
- 1 What is ISO on a camera?
- 2 Why ISO matters
- 3 How does ISO affect a photo?
- 4 What ISO setting should I use?
- 5 What happens when ISO is too high?
- 6 How to use ISO for the best results?
- 7 When should you use a high ISO on a camera?
- 8 Related Terms: ISO aperture, shutter speed, ISO ratings
- 9 3 Common ISO Mistakes to Avoid
- 10 Conclusion
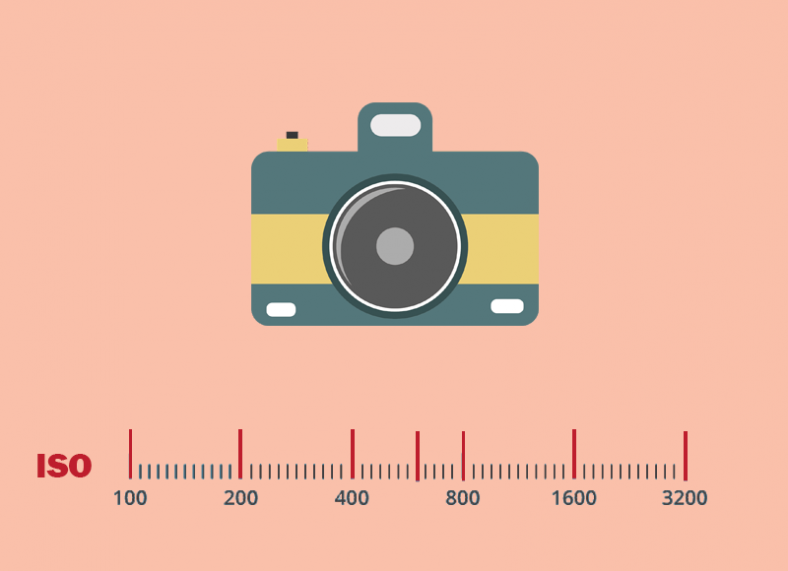
What is ISO on a camera?
In essence, ISO controls the amount of light that your camera lets in.
And it’s not just for cameras and photography.
Before we jump to the main topic, let me tell you what is ISO as now everyone knows about this. In photography, ISO is a way to gauge how sensitive your camera’s sensor is to lighting. Different sensors have different sensitivities, and you can use this information to adjust exposure levels in post-processing. Simply, Low light sensitivity decreases with increasing ISO. Meaning that when shooting at high ISO settings, images will appear less grainy and more detailed.
ISO full form in-camera
The ISO abbreviation stands for International Standards organization, which is a legitimate acronym. Why does this matter? Because they created an industry specification for how much light-sensitive film and sensors can be.
However, the ISO standard value determines film exposure for both film cameras and digital cameras, including DSLRs. To put it another way, in the framework of a camera, the term “ISO” refers to the sensitivity of the camera’s sensor to light. Ahh, man! This is so hard to understand, Right?
Why ISO matters
ISO is a method of controlling the light sensitivity of a digital camera. It is represented as an index number, usually between 100 and 6400+. When choosing an ISO value, it is essential to understand that lower values make the sensor more sensitive, while higher values make it less sensitive. As such, you will need to choose an ISO value that provides adequate exposure for your camera in low-light conditions. So, let me tell you some primary reasons why ISO matters in photography:
- ISO is the most crucial setting on a camera because it determines how sensitive the sensor is to light.
- Higher ISOs allow for greater control over shutter speed and aperture, which gives you more flexibility when shooting in low-light conditions or when you want to capture a fast-moving subject.
- Increasing the ISO also allows for sharper images, as noise becomes more apparent at higher ISOs.
- ISO also enables you to take pictures with a wider dynamic range (the difference between the brightest and darkest parts of an image), which can give your photos a richer look and feel.
- Finally, this will help you take pictures in darker environments without using flash, which can create unwanted shadows and reflections on objects in your photos.
- Understanding how to use ISO correctly is essential for achieving great results with your photography. So be sure to read the below part to expertise yourself in this.
How does ISO affect a photo?
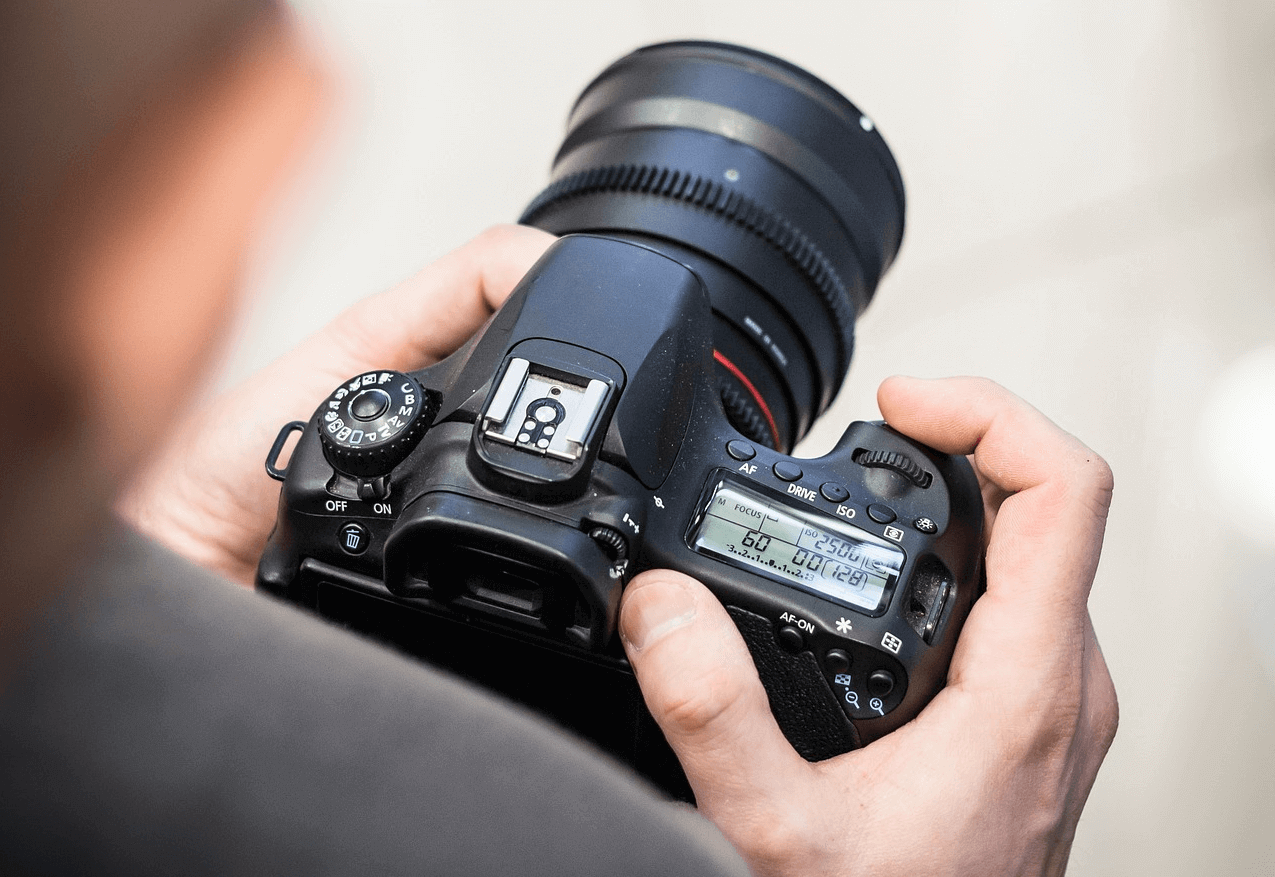
Being a photo enthusiast, I am always looking for new cameras. There are many advantages of using cameras over smartphones. However, the primary benefit is the control over your shot. You can adjust settings like ISO and shutter speed at will without worrying about missing the moment. From capturing high-quality images to sharing them on social media, it has become necessary for many people. However, having such a great tool at your disposal doesn’t necessarily mean you have the skills to use it properly. For better picture quality, we have to understand how does ISO affects a photo.
ISO is a standard used in photography that determines the sensitivity of a camera to light. It is measured in terms of the number of ISO units that are equivalent to one watt of light.
The higher the ISO number, the more sensitive the camera is to light and the greater the range of exposure times that can be used without losing image quality. However, higher ISOs also increase noise levels in images.
When choosing an ISO setting, it is essential to consider your intended use for the photo. For example, images taken for printing should have a lower ISO because they will be printed at a smaller size with less noise. Photos taken for online use or publication should have a higher ISO to avoid grainy images. I hope some basic things about ISO are now clear to you. If yes, then let’s move to the technical part.
What ISO setting should I use?
ISO setting is the term used to describe the film speed that your camera uses. A faster ISO will give you a higher shutter speed, and a lower ISO will result in a slower shutter speed.
However, this answer depends on what type of photography you are doing. If you are using a compact camera or phone, then I would suggest leaving it at 200-600 as this is sufficient for all kinds of shots that you want to take. However, if you have a DSLR or any other type of professional camera, then I would recommend using 500 as this gives much better results than 100 and allows me to take long exposures with minimal blurriness.
What happens when ISO is too high?
Let me clear this to you in a few lines. When ISO is too high, it can cause photo noise. This means that the image will have a grainy appearance and will not look as sharp as it should.
Additionally, when ISO is too high, it can also cause digital camera overheating. This can lead to damage to the camera’s internals and even cause the camera to fail.
How to use ISO for the best results?
ISO is a system that helps you to create consistent and accurate images. It is important to use ISO if you want your photos to look their best.
There are a few things that you need to keep in mind when using ISO:
- Make sure that the camera is correctly set up before you start shooting.
- Use a tripod or steady hand to avoid blurry shots.
- Shoot in RAW format if possible so that you can adjust the image later on if necessary.
- Shoot in low light conditions only if you have an excellent flashgun and know how to use it effectively.
- Take multiple shots of the same scene and choose the one that looks the best based on your criteria (exposure, focus, etc.).
- As I said above, determine your ISO settings before you take a photo.
When should you use a high ISO on a camera?
This is the most common question people often ask me when I tell them about what is ISO on a camera. Hey, are you interested to know this as well? I am damn sure you are too. Here I am giving you the simplest explanation in this regard.
The ISO is measured in two ways: “film” and “digital.” The film has a base ISO number of 100, and higher numbers are assigned by multiplying this number by 1.6x digital cameras have a base ISO of 100, but you can also select settings from 200 to 12800 in steps of 25.
This means that if you’re shooting on high-speed film, your camera will automatically adjust your settings to match what’s required for the high-speed film. So all images shot at these settings will be identical regardless of which camera you use. If you shoot digital with no adjustments made, then all images will be slightly different because they’ll be affected by changes in lighting conditions.
In summary:
- Using an ISO higher than 800 on a digital camera may result in noisy images due to noise reduction software being used;
- Using an IS0 above 1600 may result in blurred images due to overexposure when there isn’t enough available light;
- Using IS0 above 3200 may make pictures too dark unless bright lights are shined directly into the lens;
- While any IS0 above 6400 may cause over-exposure if shots are taken outside under direct sunlight.
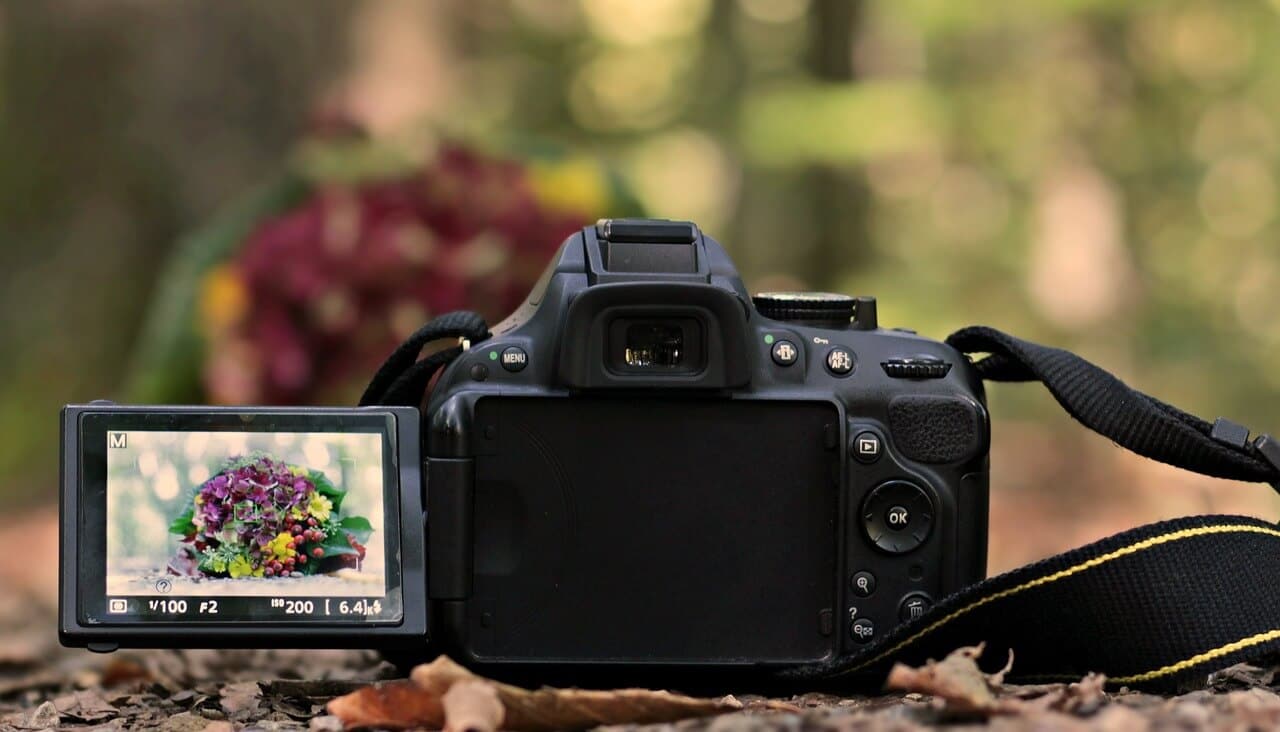
ISO aperture and shutter speed are three important settings that you need to understand when taking photos.
Aperture is a common setting on digital cameras, and it affects the amount of light that enters the camera to create an image.
Shutter speed is the final setting on digital cameras, and it controls how long the shutter is open to capture an image.
The ISO rating determines how much light enters the camera and thus affects exposure time and shutter speed. There are different types of ISO ratings:
* 100 – 200: This is the least, darkest level, commonly termed the basic ISO.
* 400 – 800: Great for low light photography but too slow for moving subjects
* 1600 – 3200: Very good in low light, but too fast for static subjects like landscapes or portraits.
3 Common ISO Mistakes to Avoid
1. Sticking with the same ISO level no matter what the lighting conditions are
To achieve better picture quality, you need to use different ISO ratings with different characteristics that can differentiate between the colors of light. This will also help you produce more creative and interesting images by making your photo look like what you want it to be rather than just showing how things look in real life.
2. Aperture settings adjustment
The other thing that I would like to mention here is the aperture setting which needs to be adjusted accordingly depending on the distance between your camera and your subject. This can also help improve the clarity of images taken with digital cameras. As well as DSLR cameras where most lenses have variable aperture settings available.
3. Avoid relying on post-processing only
There are many misconceptions regarding ISO and the reasons behind it. One of them is that we need to do post-processing on images to make them look better. This is wrong because, as per the technical standards, post-processing involves only changing color or exposure changes which are not at all a part of an image but can be done by software.
Conclusion
Trust me. If you are trying to know everything related to ISO, then this will take time. Go slowly; there are plenty of resources for you on our website. But make sure you understand what is written above. Without this basic knowledge, you can’t learn advanced things about ISO settings. And you don’t have to worry because we are here to help you with our expert tips and resources. However, this is what we have for you today. I hope it’s clear What is ISO on a camera is. Cheer with us today if you want to get more articles like this.